Holiday Decorating Guide
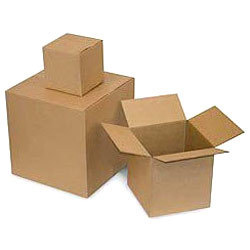 1. Make Room For Your Decorations The first few steps of the guide are not very glamorous or as much fun as the decorating steps, but will help pave the way for a more streamlined and easy process. Go around your spaces and make room for the in-coming holiday decorations. Clear off shelves and table-tops, put away year round pillows and blankets, and move around furniture as necessary. Don’t forget to think about where your tree will be placed and how this will affect furniture placement in your spaces. Try to use boxes or bins for the smaller moved items, and keep items from similar rooms together so they are easier to put back later. These un-used items can be stored in the garage, attic, or extra closet space.
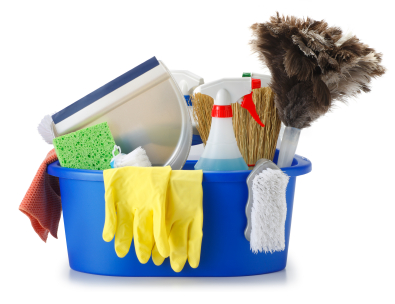 2. Clean! Now that everyday items are put away and space is cleared, it is time to clean. If you don’t have any “Santa’s little helpers” to help, just envision that this big clean will tide you over until spring. Taking the time to clean now allows the decorations and your home to take center stage later on. Plus, it presents a welcoming tone to your holiday guests and allows your decorations to be the focal point. Try to clean in stages or go room by room if you get slowed down or start to lose motivation. Swiffer dusters and Mr. Clean Magic Erasers are some of our essential favorites to getting the job done.
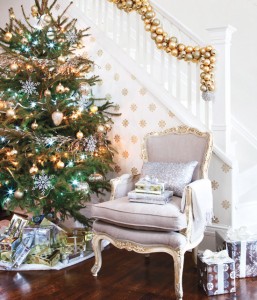 3. Find Inspiration or Make a Decorating To-Do List Now is the time to start thinking about how you want your space to look and the over-all feel you are going to achieve. If you simply use the same decorations from year to year, this is the step where it is helpful to make a list of what you decorate, any tools needed, and in what order you will start decorating in. If you are interested in trying something new, now is the time to find inspiration photos, purchase new items, and do any holiday crafting or projects. Trying new things and making holiday crafts and decorations is fun and rewarding, but make sure to stay within your means. Start by choosing 1 project that you most want to accomplish, and remember that you can do another project or make something else next year!
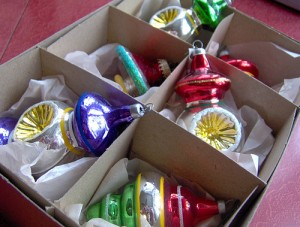 4. Un- pack Existing Items When it comes to using the decorations that you already have, un-pack and lay out your items so you can get a visual sense of what you have and where things can go. This is also helpful when incorporating new items with your existing decorations. You can keep your home looking fresh by simply placing favorite items in new spots, or grouped with different items. Try highlighting certain objects by placing them on a tray or decorative placemat to add interest. You can also group similar items together to create a collection. Remember to stagger item heights and that groups of items in odd numbers is generally visually appealing.
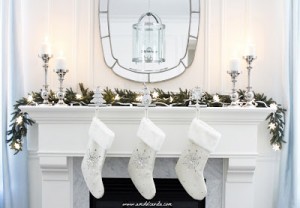 5. Be Selective We understand that the holidays are special and we all have our most beloved and cherished pieces of decorations. However, it is helpful to try and remember that “less is more”. The goal is to create a special and inviting atmosphere where your decorations provide a back drop and your special pieces are accented. This isn’t achieved if there are snowmen and twinkling lights everywhere you look. Pick 1 or 2 surfaces or areas to highlight in each space, and let those be the showcase, with smaller decorations or accents filling in the other areas. Remember, you can highlight a special piece or collection this year, and choose a different one to highlight next season.
 6. Decorate! Once you have cleared away every day items, cleaned, chosen your theme or made your decorating to-do list, un-packed your items and chosen your favorites, it is time to decorate. Decide if it is most helpful to go room by room, or type by type. For example, maybe you start with tackling the guest bath or decide to hang all the garlands before moving on to all the lights. This is the fun stage, so put on some Christmas music, have your family help, and start to get into the holiday spirit. We find it helpful to use a tray or box for keeping all tools, nails, hooks, tape, etc. together in one place. You can carry it with you as you move from room to room and it ensures that what you need is right at your fingertips.
 7. Donate Un-used Items After everything is set-up and looking the way you envisioned, take some time to go through any un-used or outdated decorations. Set aside special items you may use in the future, but try to be discriminating. A good rule of thumb is if you haven’t used it in the past 3 years, chances are you probably won’t and you can get rid of it. And you don’t have to feel guilty about your Christmas decorations ending up in the trash. There are numerous locations that accept holiday decoration donations year-round, so your items can become part of someone else’s holiday memories. And remember, you may be donating an item, but you are keeping the memory and feelings that the item helped to inspire.
 8. Prepare For Next Year Keep empty boxes and wrapping items for your decorations together, so you can re-use them when it is time to put everything away again. Take the time to re-tape boxes, and purchase new storage boxes or bins as necessary. When it’s time to repack, make sure you label, label, label. Knowing where things go and what is in each box is essential for making decorating next year quick and easy. If you donated items, keep in mind that items may no longer be in the same boxes they were before. The end of the holiday season is also a great time to shop for next year’s decorations because sales and discounts are plentiful. If you didn’t accomplish all your projects or crafts this year, make a note of them so you can get a head start next fall.
The most important thing to remember is that the holiday season is less about the decorations and items and more about the time and memories we share with others. Don’t worry if everything isn’t perfect, squeaky clean, or like a picture from a magazine. Have fun decorating your home for the holidays, do what you can, and then enjoy sharing your space with the special people in your life.


